How To Take Screenshots On Your Laptop Running Windows / MacOS-Powered Laptops

During a typical workday or class, you will need to take screenshots on your laptop to capture your work, most likely before it reaches its final form. Whether you have a Windows laptop/PC or a Mac, you can take screenshots of almost anything on the screen and save them as JPG or PNG files for later use.
However, the steps for screenshots on PCs differ depending on the software. Taking a screenshot on a PC is simple and can be done in multiple ways.
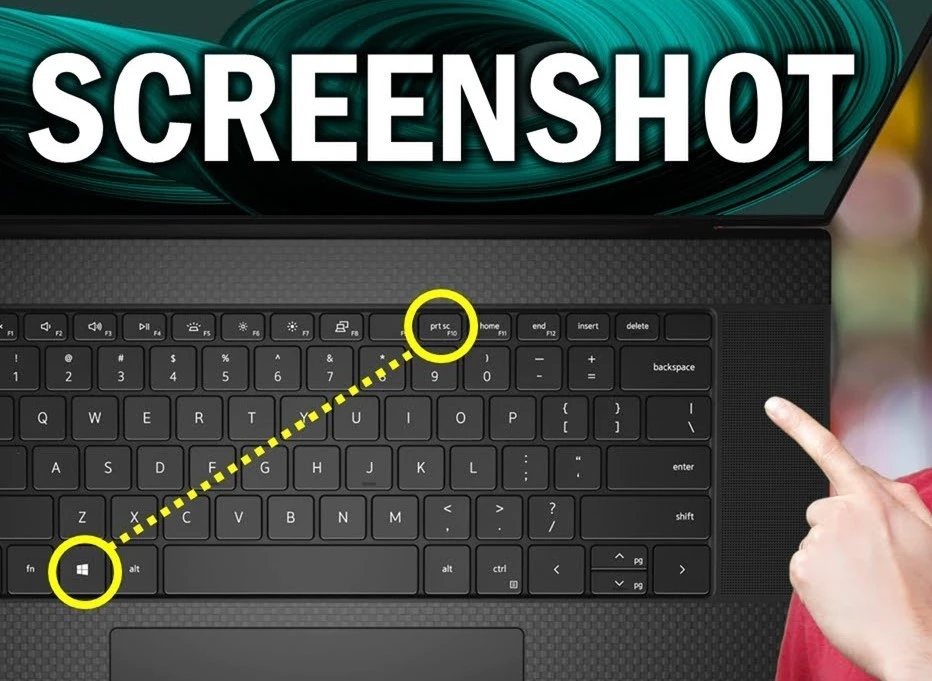
Windows and macOS laptops have methods or commands for capturing a screenshot, which can be difficult if you’re unfamiliar. But don’t worry; we’ve got you covered! The steps for taking a screenshot on Windows 11/Windows 10/Windows 7 laptops or desktops are listed below.
How To Take Screenshots On Your Laptop
There are several methods for taking screenshots on Windows 10/ 11 laptops/PCs. The procedure for taking a screenshot on a Windows 7 laptop is the same.
Use the app to take screenshots on a Windows 7/ 10/ 11 laptop/PC.
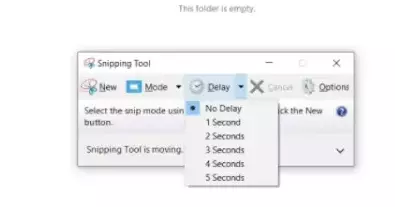
Both Windows 10 and Windows 7 include a dedicated application called ‘Snipping Tool’ that allows you to capture any screenshot. The app takes a screenshot and saves it as an image file without first pasting it into another program.
Step-by-step procedure :
- Go to the Start Menu and search for Snipping Tool.
- The application will launch with options like ‘New,’ ‘Mode,’ ‘Delay,’ ‘Cancel,’ and ‘Options.’
- The New button will allow users to capture a screenshot on a laptop in any format they desire (freeform, without any preset dimension or shape).
- On the other hand, the ‘Mode’ option allows you to select the type of screenshot shape you want, ranging from full screen to rectangular to free-form.
- The ‘Cancel’ button will stop the process, whereas the ‘Delay’ option will allow you to set a timer for taking screenshots.
Use the print key to print the screen on Windows.

Step-by-step procedure :
⦁ The PrtScn key is mainly in the upper-right corner of the keyboard.
⦁ Press the key to copy a screenshot of your laptop’s entire screen to your clipboard, which you can then paste into Paint, Microsoft Word, or any other program that displays images.

⦁ In some laptops, the function key denoted as ‘Fn,’ may be required to assist the button. On such computers, press Fn+PrtScn to take a screenshot.
Capture screenshots using Alt+PrtScn.
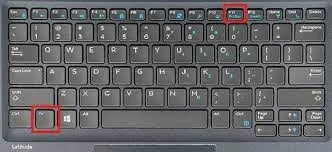
⦁ This option copies only the currently open window to the clipboard, allowing you to paste it into another program.
⦁ Take a screenshot on a Windows 7 or 10 laptop by pressing the PrtScn button while holding the “Alt” key.
4:How do you take a screenshot of a specific portion?
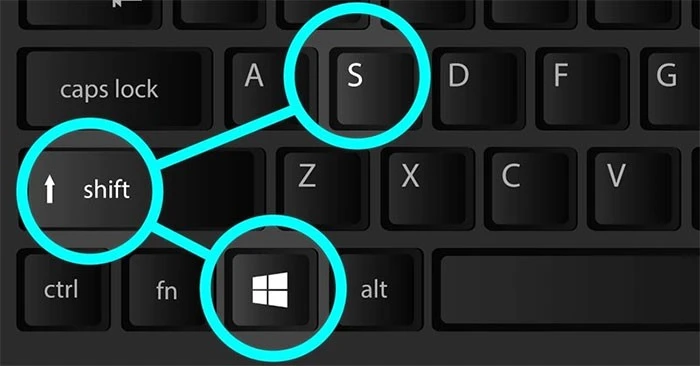
⦁ If you want to capture a specific area of the screen, press Windows + Shift + S simultaneously.
⦁ In addition to opening the Snip and Sketch tool and changing the mouse pointer to drag, this will dim the screen.
⦁ Choose the area you want to save.
⦁ You may paste the screenshot into any program that accepts images by selecting it from the clipboard and pasting it.
Users of Windows 11 laptops and PCs have access to a wide range of possibilities with only the most basic editing requirements.
Use Windows key+PrtScn to save the screenshot directly to your computer.

⦁ On your laptop, use the Windows key+PrtScn shortcut command to save the screenshot as an image file instead of copying it to the clipboard.
⦁ A snapshot of the entire screen can be taken by pressing the keys, and it will be saved in the “Pictures” folder in the “Screenshots” subdirectory.
Windows key+G :
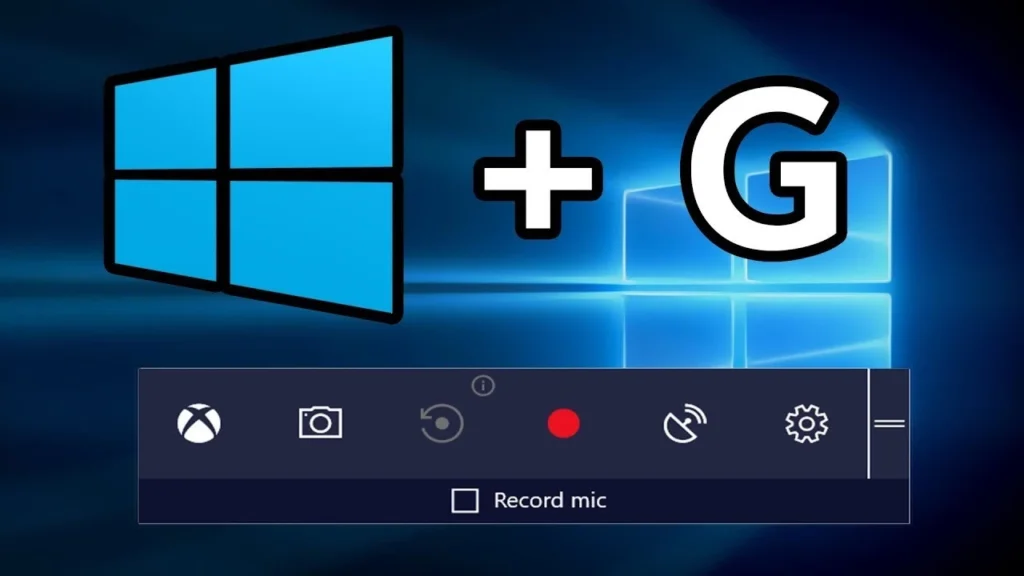
⦁ This option is especially for gamers who need to capture a screenshot on a Windows laptop.
⦁ While playing the game, press Windows and G simultaneously to bring up a game overlay.
⦁ To capture a screenshot, click the camera icon or press the Windows key + Alt + PrtScn.
⦁ The screenshot will be saved in a ” Captures ” subfolder within the “Videos” folder.
⦁ Those playing games on Steam can take screenshots by pressing F11, which can then be accessed from the ‘Steam’ folder.
How to Take Screenshots on Macbooks and PCs
MacOS also provides a variety of screenshot alternatives, each with its own set of advantages.
Command+Shift+3 :
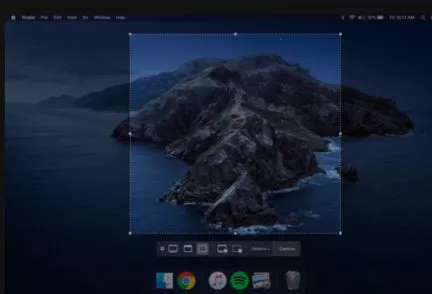
It is the simplest method for taking screenshots on macOS laptops/PCs. Press these three keys simultaneously to grab a screenshot of the full screen.Command+Shift+4
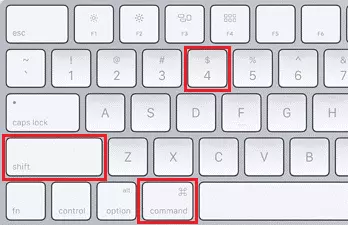
⦁ Command+Shift+4 This more advanced command allows you to capture a specific screen area. It will transform your cursor into a crosshair, which you can select and drag anywhere on the screen to capture a screenshot.
⦁ You can also press and release the space bar to transform the crosshair into a camera icon. Hover the symbol over the window you wish to capture to make it visible, then click or press enter.
⦁ With this command, press and hold the space bar (after dragging to highlight an area but before releasing the mouse button or trackpad) to lock in the shape and size of the selected location and move it anywhere on the screen. This is useful if the initial set area is no longer available.
Command+Shift+5

⦁ This option offers you complete control over the snapshot.
⦁ When you run the command, you’ll see a box on the screen that you can customize and a slew of other options.
⦁ To take a screenshot of the selected area, press ‘enter’ or select the ‘Capture selected portion’ option from the small panel below.
⦁ The panel also includes the ‘Capture Entire Screen’ and ‘Capture Selected Window’ buttons, as well as two video-recording buttons that allow you to record your entire screen or a selection of it, and an ‘Option’ button that allows you to choose the drive to save screenshots to and set a timer, among other things.
⦁ The screenshot window may be closed with the Escape key by clicking the ‘X’ button on the left.
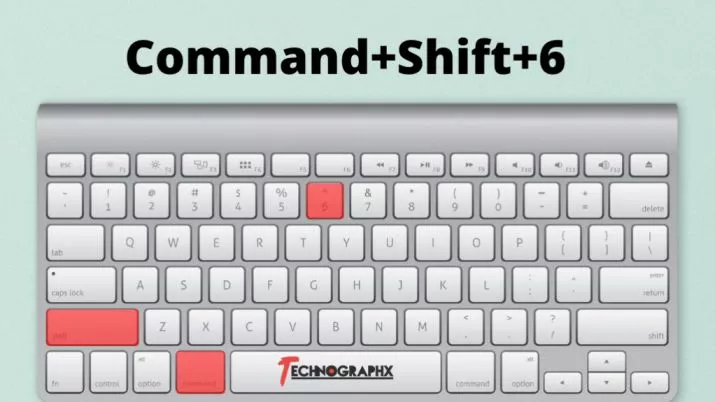
Command+Shift+6
This feature, which allows you to snap a screenshot of the Touch Bar, is only available for MacBook models with Touch Bar.
All screenshots taken on macOS laptops are saved to the desktop (by default). However, you may modify the location to whatever drive/folder you like.
To do so, press Command-Shift-5 -> Options -> and select save location; this will save all future screenshots to that folder or drive.
FaQs :
Conclusion
I hope you found this helpful content in your quest to snap screenshots on a Windows PC / macOspowered laptop. Please forward this content to your friends and relatives if you find it useful. Thank you for taking the time to read this.
