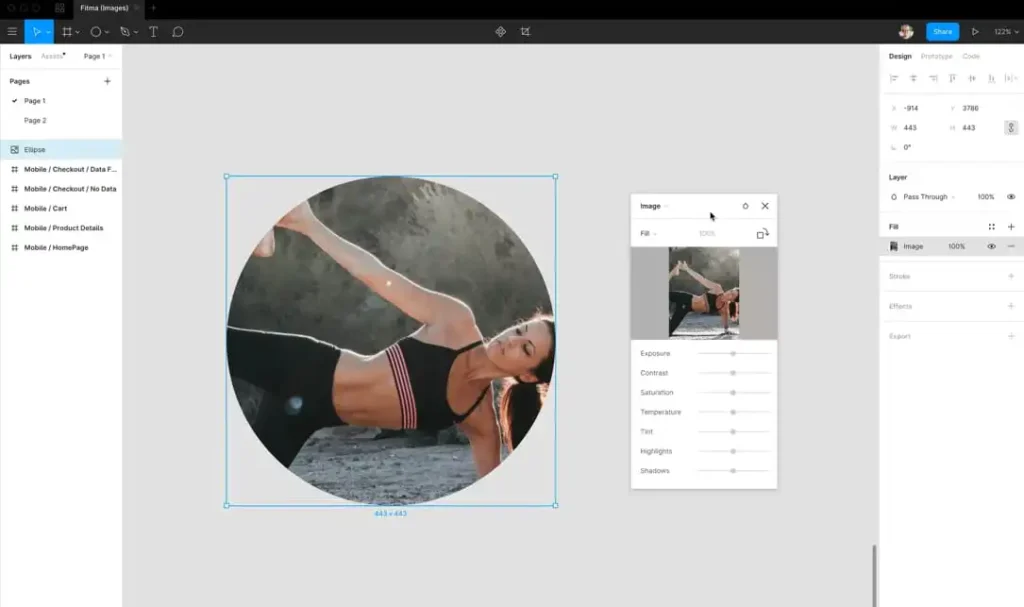
How to Crop a shape in Figma

Cropping a shape in Figma is a simple process that involves creating a mask using a combination of shapes and techniques. Here are the steps to crop a shape in Figma.
Figma’s user-friendly interface and extensive feature set make it simple to conceptualize ideas swiftly, experiment with various layouts and content combinations, and iterate on your designs in real-time.
How to Crop a Shape in Figma
Figma is quite easy to learn, and in this post, I’ll demonstrate how to crop photographs and remove various things from them, like a circle.

Step-by-step procedure
- How to Crop a Shape in Figma
- Select the shape that you want to crop.
- Create a new shape that will act as the mask. This shape should be positioned atop the shape you want to crop and have the desired cropping shape.
- Right-click on the shape you want to crop and select “Send to Back” from the context menu.
- Select both the shape to be cropped and the mask shape by holding down the Shift key while clicking on each shape.
- Right-click on either of the selected shapes and select “Mask” from the context menu.
- The shape you want to crop will now be masked by the shape you created as the mask. You can adjust the position and shape of the mask to change the cropped area of the shape.
- You can also adjust the opacity of the mask shape to create a softer crop, or you can add a blur effect to the mask to create a more gradual transition between the cropped and uncropped areas of the shape.
- If you need to remove the crop, right-click on the masked shape and select “Unmask” from the context menu.

There are a few things to keep in mind when using masks in Figma:
Step-by-step procedure:
- Masks are vector objects that can be resized and transformed without losing quality.
- Masks can be applied to any vector shape, including shapes created using the Pen Tool, Rectangle Tool, and Ellipse Tool.
- Masks can also be applied to images, but the quality of the cropped area may be affected if the image is not high-resolution.
- Masks can be combined with other techniques, such as blending modes and layer effects, to create complex designs.
- If you need to change the cropped area of a shape, you can adjust the mask shape to update the cropped area.
How can Figma crop an image into a circle?
Figma is the tool for you if you want to develop your own graphics and prototypes, whether you’re a professional designer or not. To crop an image to a circle in Figma, you can follow these steps:
Step-by-step procedure:
- How to Crop a Shape in Figma
- Insert the image into your Figma design.
- Use the Ellipse Tool to create a new circle shape on top of the image.
- Position the circle shape over the image area you want to crop.
- Select both the image and the circle shape.
- Right-click on either the image or the circle shape and select “Mask” from the context menu.
- The image will now be masked by the circle, effectively cropping it to the shape of the circle.
- If you need to adjust the size or position of the cropped area, adjust the circle shape as needed.

Note that masks in Figma are vector objects, so the cropped area will maintain its quality when resized or transformed. If the image you’re cropping is not high-resolution, you may notice some loss of quality in the cropped area. To avoid this, make sure to use high-resolution images in your designs.
Also, Read https://topisten.com/
Conclusion
In conclusion, cropping a shape in Figma is a useful design technique that allows you to control the visible area of a shape. Using masks, you can crop any vector shape or image into a custom shape, including circles, rectangles, and more. Masks are flexible and easy to use, and they can be adjusted at any time to update the cropped area. Whether you’re working on a logo design, website layout, or any other design project, learning to crop shapes in Figma is an important skill that can help you create more impactful designs.
FAQ’S
